
So. You Bought A VNA. Now What?
By Jenny List
It’s never too late in life for new experiences, but there’s a new experience I had a few weeks ago that I wasn’t expecting. I probably received my first piece of test equipment – a multimeter – in the early 1980s, and since then every time I’ve received a new one, whether an oscilloscope, logic analyser, spectrum analyser or signal generator, I’ve been able to figure out how to use it. I have a good idea what it does, and I can figure out whatever its interface may be to make it do what I want it to. My new experience came when I bought a piece of test equipment, and for the first time in my life didn’t have a clue how to use it.
That instrument is a Vector Network Analyser, or VNA, and it’s worth spending a while going through the basics in case anyone else is in the same position. My VNA is not a superlative piece of high-end instrumentation that cost the GDP of a small country, it’s the popular $50 NanoVNA that has a fairly modest frequency range and performance, but is still a functional VNA that can take useful measurements. But I’m a VNA newbie, what does a VNA do?
A Quick VNA Primer

If you work with radio frequencies, it’s relatively easy to measure amplitudes, but usually very difficult to take phase and impedance measurements, especially across a wide frequency range. So for example I was able to fire a set of frequencies at a filter in a previous Hackaday article using only a Raspberry Pi and an oscilloscope, but all I could measure was its bandwidth, I knew nothing about its impedance and the phase relationships between input and output. This type of analyser is refered to as a Scalar Network Analyser, and all the measuring device knows about the signal is its frequency and amplitude. Where the scalar analyser simply has an oscillator and a sensor, the VNA mates the oscillator with a reflectometer to measure impedance, and replaces the sensor with a software defined radio receiver. Both oscillator and SDR are in perfect synchronisation so the device can keep track of phase as well as the rest of the measurements. A computer controls it all.
The NanoVNA originated a few years ago from [edy555], and has since been cloned in huge numbers by Chinese manufacturers. It’s a surprisingly simple piece of hardware, with an Si5351 clock generator providing the phase-synchronous oscillators, a brace of three balanced mixers providing the RF-to-baseband downconversion, an I2S codec digitizing the measurements, and an STM32F07 ARM Cortex M0 microcontroller doing all the math and running the show.
If a VNA is that simple, you might be asking why commercial ones are so expensive then, but the answer lies in the rather limited capabilities of the NanoVNA. It has a fundamental frequency range of 300 MHz, it uses an audio ADC, and its RF components are not of a particularly high spec. Compared with a commercial model that will have a frequency range in the GHz, a much higher specification ADC, a much lower noise figure, and a hugely more capable computing system to drive it, it becomes rapidly obvious where the extra cash goes before you have even considered matters such as calibration.
The NanoVNA is a real VNA and it’s very useful for radio amateurs and hobbyists, but it’s still something of a toy in the scheme of VNAs. So having discovered what the NanoVNA is, how do we use it? This isn’t a review of the device, instead it’s a write-up of my experiences with it as a first-time user.
Diving Into My Toy VNA
The first step this voyage of discovery is to calibrate the device, which is to say to establish its baseline for measurements. It’s shipped with a set of SMA connector loads and shorts and open-circuits, and it is here that these are required. Rather than step through the whole process pretending to be an expert it’s easiest to link to the site on which I found the calibration procedure. In short: you hook up each of the standards in order to your VNA, and run the appropriate calibration routine. The NanoVNA is controlled by a little jog switch and a not-very-responsive touch screen, so there is a bit of a learning curve in getting to know its interface. Little tricks such as finding the on-screen keyboard and then understanding that the “M”, “K”, and “G” buttons refer to megahertz, kilohertz, or gigahertz, and also function as return keys are essential.
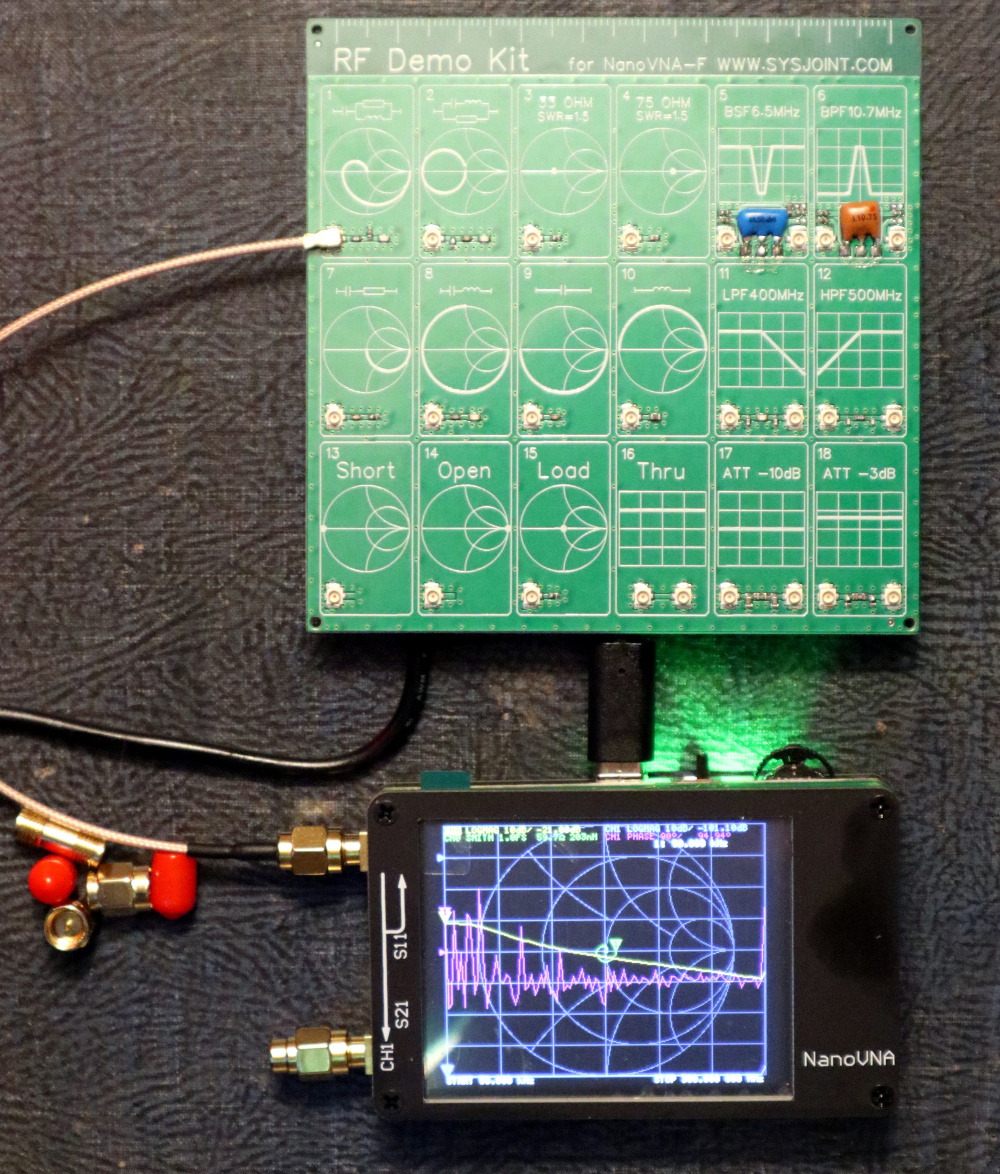
Once you have calibrated it and understood the interface, it becomes a very straightforward instrument to use. I also picked up an “RF Demo kit”, a PCB with a set of test RF networks, filters, and attenuators. This allowed me my first chance to play with it, and immediately the ease of taking readings became apparent. There are a variety of traces as well as a Smith chart, and a group of measurements at the top of the screen that correspond to a set of markers on each trace.
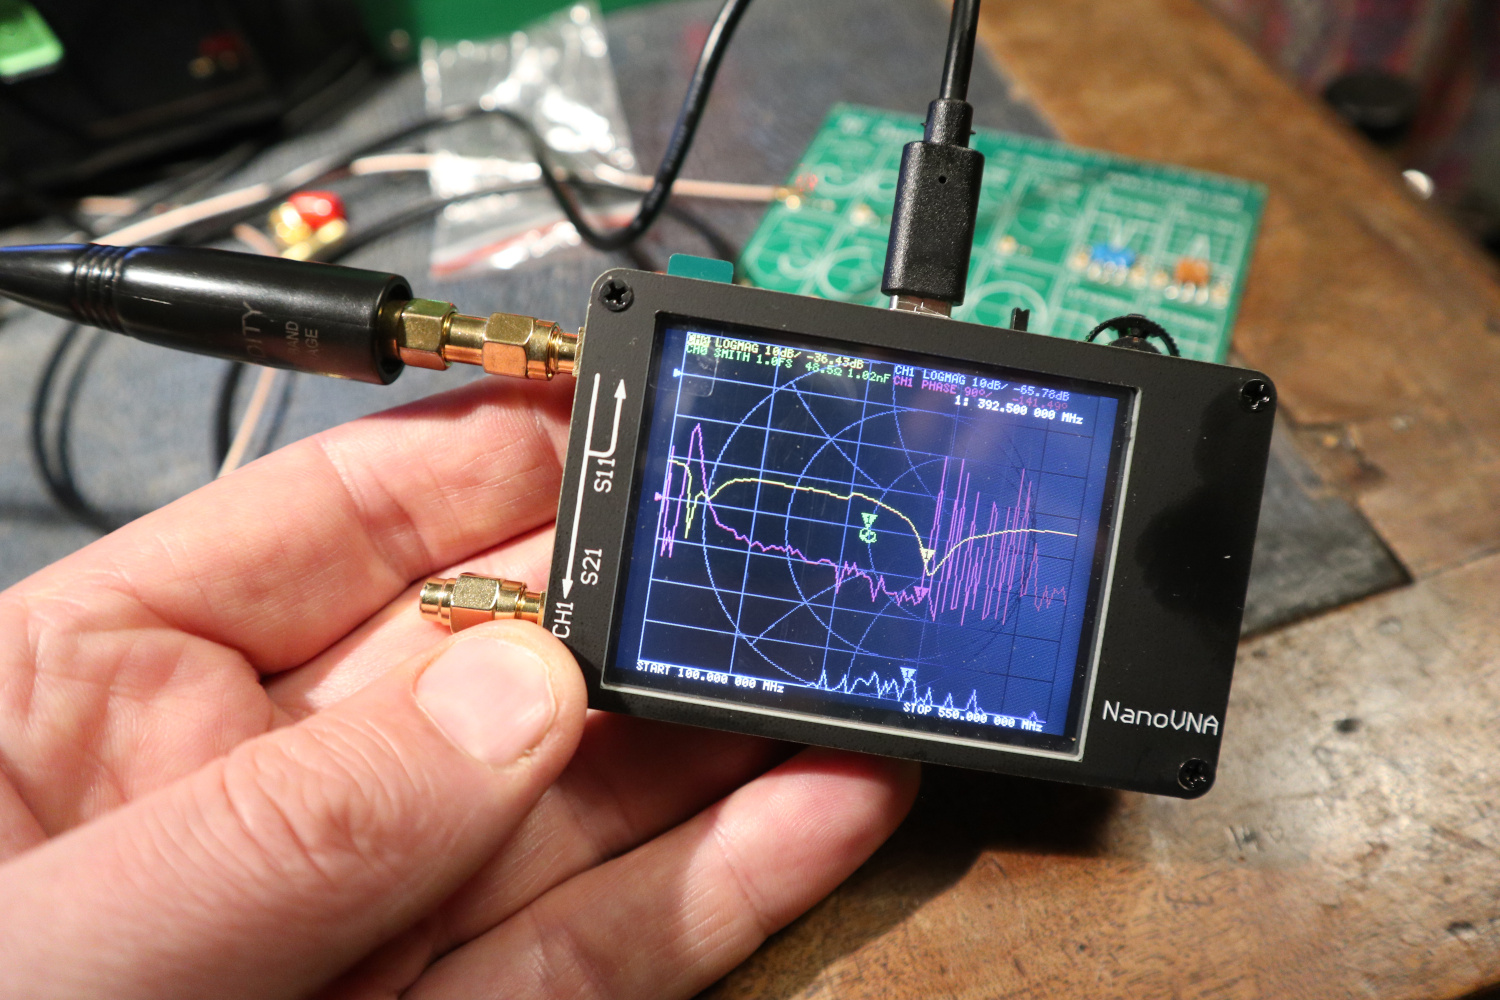
The jog switch on the NanoVNA allows paging through the frequency range, and each reading can be seen for each frequency. I could zero in on a particular frequency and see its impedance, pick out the exact cut-off point of a filter, and hook up an antenna and tell straight away whether it needs tuning. The cheap-and-nasty dual-band whip antenna on my Baofeng was revealed to be perhaps not as nasty as I’d supposed at 144 MHz, but somewhat off frequency at 430 MHz, for example. The VNA was living up to its reputation as the Holy Grail of RF test equipment, and even after only a few days of owning one I can’t quite see how I ever managed without it.
What I discovered after my initial bafflement at my NanoVNA was that a lifetime of playing with RF and also being used to figuring out new test equipment has held me in good stead. I will probably never become a VNA savant in the way that a lifetime of using all types of oscilloscopes has made me with those instruments, but I can now use it to quickly make measurements I wouldn’t have thought possible before I owned it.
April 23, 2020 at 07:00PM
via Blog – Hackaday https://ift.tt/3bx0TKb

23 aprile 2020 at 20:58
Nice blog post. You have made a great start with this great bit of kit. HexAndFlex